The SafePal X1 is a cutting-edge hardware wallet designed to provide users with a secure and convenient way to manage their cryptocurrencies. With its user-friendly interface and robust security features, the SafePal X1 is an excellent choice for both beginners and experienced cryptocurrency enthusiasts. However, to fully utilize the wallet’s capabilities, you need to activate the SafePal X1 hardware wallet correctly. In this article, we will guide you through the process of activating the SafePal X1 hardware wallet, ensuring a seamless and secure experience.
Also Read: How to Withdraw Money from SafePal to Cash App
Preparation Before you begin, Make sure you have the following:
- SafePal X1 hardware wallet: Ensure you have the physical device and all its components, including the USB cable and power adapter.
- Computer or mobile device: You will need a computer or mobile device with a USB port to connect the wallet.
- Internet connection: A stable internet connection is required for the activation process.
Very Easy Steps to Activate the SafePal X1 Hardware Wallet
Here are the only 6 steps, you need to follow to Activate your SafePal X1 hardware wallet:
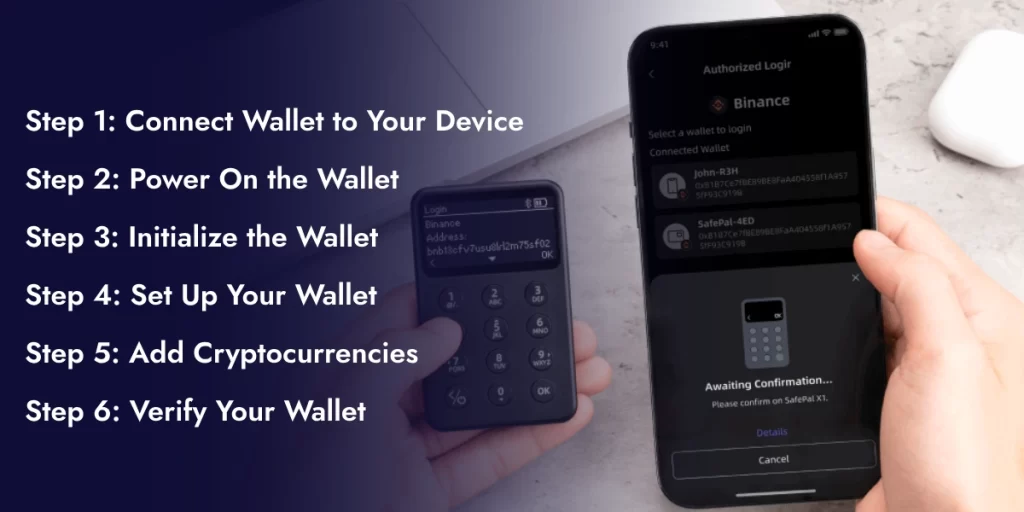
Step 1: Connect the Wallet to Your Device
Connect the SafePal X1 to your computer or mobile device using the provided USB cable. If you are using a computer, ensure that the device is recognized by your operating system. You may need to install the necessary drivers if prompted.
Step 2: Power On the Wallet
Press and hold the power button on the SafePal X1 until the LED light starts flashing. This indicates that the wallet is powered on. Release the power button and wait for the wallet to boot up. This may take a few seconds.
Step 3: Initialize the Wallet
Open the SafePal X1 software on your computer or mobile device. You can download the software from the official SafePal website. Follow the on-screen instructions to initialize the wallet. You will be prompted to create a PIN code and a recovery seed. Enter a strong PIN code and confirm it. This will help protect your wallet from unauthorized access. Write down the recovery seed and store it in a secure location. This seed is used to recover your wallet in case you lose access to it.
Step 4: Set Up Your Wallet
Once the wallet is initialized, you will be prompted to set up your wallet. Choose your preferred language and currency. Create a wallet name and set a password. This will help you identify your wallet and add an extra layer of security. Set up your wallet’s security settings, including the number of confirmation signatures required for transactions.
Step 5: Add Cryptocurrencies
The SafePal X1 supports a wide range of cryptocurrencies. Add the cryptocurrencies you want to manage by selecting them from the available options. Follow the on-screen instructions to add each cryptocurrency. You may need to enter a specific address or private key.
Step 6: Verify Your Wallet
Once you have added all the desired cryptocurrencies, verify your wallet by checking the balance and transaction history. Ensure that all transactions are correct and that your wallet is functioning as expected.
Additional Tips
- Always use a strong PIN code and password to protect your wallet.
- Keep your wallet software and firmware up to date to ensure you have the latest security patches and features.
- Store your recovery seed in a secure location, such as a fireproof safe or a secure online storage service.
- Use a secure internet connection when accessing your wallet to prevent unauthorized access.
By following these tips and the steps outlined in this article, you can easily activate your SafePal X1 hardware wallet.
Conclusion
Activating the SafePal X1 hardware wallet is a straightforward process that requires attention to detail and a willingness to follow the instructions carefully. By following the steps outlined in this article, you can ensure a secure and seamless activation experience. Remember to always keep your wallet software and firmware up to date, and to store your recovery seed in a secure location to protect your assets.