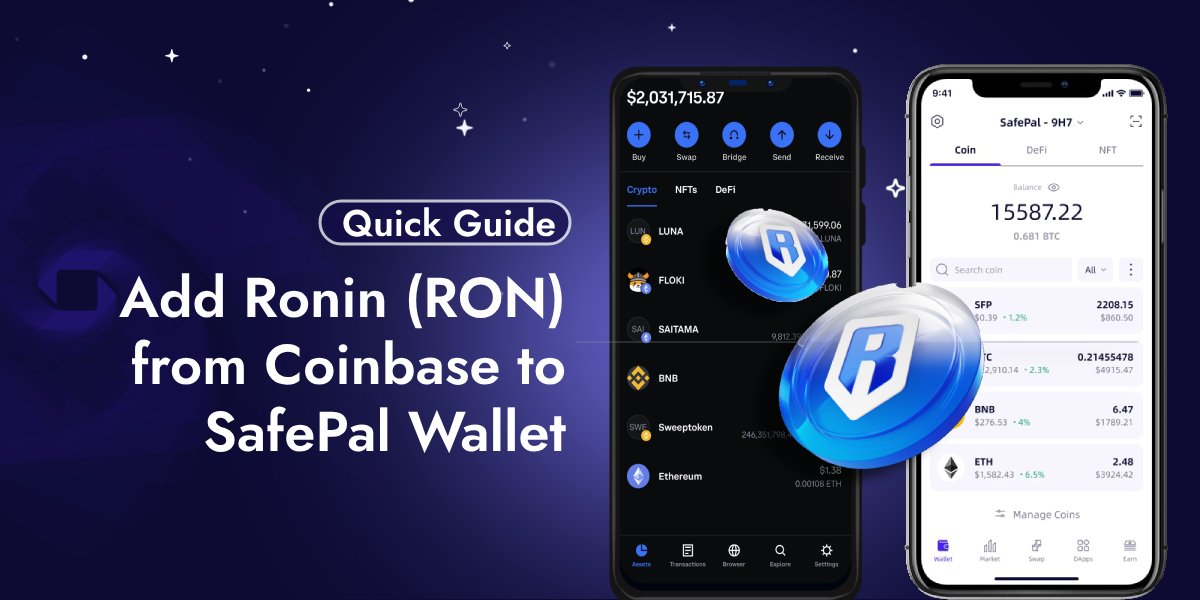
Adding a custom token like Ronin (RONIN) from coinbase to your SafePal wallet can seem daunting, especially if the contract address isn’t readily available. However, with the right steps, you can easily add Ronin to your SafePal wallet. This guide will walk you through the process.
Also Read:- Swap USDC TRC20 to Other Coins on SafePal [Latest Guide 2024]
Step-by-Step Guide to Add Ronin from Coinbase to SafePal Wallet
Step 1: Update Your SafePal App
Before you begin, ensure that your SafePal App is updated to the latest version (V3.9.0 or above). You can download the latest version from the official SafePal website or your app store.
Step 2: Launch the SafePal App
Open the SafePal App on your device. On the home page, click the ‘All’ icon to access the list of supported tokens and networks.
Step 3: Add a Custom Network
- Click the ‘+’ Icon: On the ‘All’ page, click the ‘+’ icon to add a new network.
- Automatically Add Network: You can use the Automatically Add Network feature to browse and filter networks. However, if Ronin is not listed, you will need to add it manually.
Step 4: Manually Add Ronin Network
- Click ‘Add Manually’: If Ronin is not available in the automatic list, click the ‘Add Manually’ icon.
- Enter Network Details: You will need to enter the following details:
- Network Name: Ronin
- RPC URL: This is specific to the Ronin network. You may need to find this from a reliable source or the official Ronin documentation.
- Chain ID: The unique identifier for the Ronin network.
- Currency Symbol: RONIN
- Blockchain Explorer (optional): A URL to a blockchain explorer for Ronin, if available.
Step 5: Add the Ronin Token
- Enter Contract Address: For Ronin (RONIN) on the Binance Smart Chain Mainnet, use the contract address:
0x36b511c51ba6fc412a73a5f039b5d1c2756d31be. - Complete the Addition: After entering all the required details, click ‘Add’. The Ronin network and token should now be added to your SafePal wallet.
Step 6: Verify the Addition to Add Ronin from Coinbase to Your SafePal Wallet
- Check the Asset Page: Go to the Asset page in your SafePal wallet to ensure that the Ronin token is listed.
- Edit Custom Networks: If needed, you can go to the Settings page, click ‘Custom Network’, and view or edit all added custom networks.
Conclusion
By following these steps, you can successfully add the Ronin (RONIN) token from Coinbase to your SafePal wallet. This process involves updating your app, manually adding the Ronin network, and entering the correct contract address. With these steps, managing your Ronin tokens on SafePal becomes straightforward and efficient. For more detailed instructions, you can refer to the official SafePal support article on adding custom networks.